Do you have iTunes installed on your computer once it has started and do not know how to register?
In this guide, we will explain in detail the procedure for how to register on iTunes and you can begin to download movies, music or applications. The procedure is easy to perform and does not require much time.
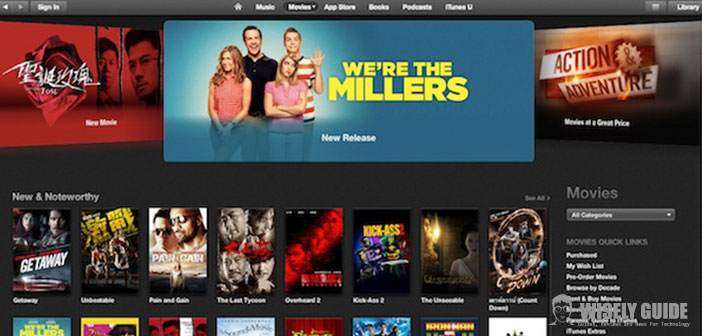
1.) The first step is of course to start the program already installed, and then click ” iTunes Store ” in the left sidebar, then you will see the main page of the Apple App Store. At this point, you should click on the ” sign in ” on the top right of the screen and then select the button ” Create new account ” where a wizard will appear on the registration. In the first screen, click ” Continue ” to continue and then subsequently select the terms of use on the ” I have read and agree to these Terms and Conditions ” , click ” I Agree “. Now we need to complete the form that appears on the screen by placing correctly all the required data (passwords, e-mail and security question) and then press ” Continue ” .
2.) At this point, you must select the desired payment method to make any purchases by entering the credit card information, making sure to make a correct insertion order not to compromise the recording, at the end click on ” Next ” and ” Finish ” The inscription on iTunes has been carried out successfully, but the operation is not yet complete.
3.) It is time to open your mail box within which the incoming mail section we will have a new e-mail that was sent to us by the system, in which we will find a link that is used to confirm the contents of the e-mail received from Apple, and that gives us the chance to make the first access to iTunes. You can also register without having to disclose the data of the credit card, but during the registration, you must choose to download games or free apps after selecting ” Create New Account ” and then when prompted for the payment method you have to select ” None ” . In any case, the personal data (Name, Address) must also be placed at the end of an entry by clicking the button ” Next ” and ” Finish ” .

