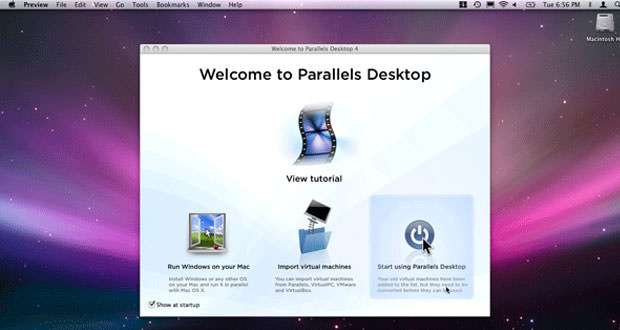
Parallels Desktop is an excellent application in the field of virtualization. Regardless of the operating system main, allows the simultaneous management activities and updates to another platform. The software installs it on Linux OS, Windows XP or any other, with functionality and updates.
Many Mac users still need this operating system for business or special software. The capabilities of the virtual machine mirror those of a common computer. Here’s how to configure Parallels Desktop.
1.) Download Parallels Desktop from here. Please install as per suggestion. To configure Parallels Desktop creates a new virtual machine to host Windows XP OS or any other OS. From the main screen, select ” Custom Mode “. So you can customize individually the various operations. It is much more complicated but also the choice of the best. From the drop-down menu choose the OS type and version, based on your particular needs. In this case, select and Windows XP OS. Confirm with Next.
2.) Define now the amount of RAM to be assigned to the virtual device. Move the appropriate indicator. Decide the memory to use. Obviously, it will be used only opening Parallels Desktop and the launch of the new OS. Decide now the physical space of action of Parallels Desktop. Create a new image of the hard disk. Then click on ” Create a new hard disk image. ” Choose the size of the disk, preferably 25 GB. Then check the voice Expanding. This way will prevent future installations to occupy all available space from the beginning.
3.) Continue to configure Parallels Desktop. Set the mode of internet connection sharing. This allows you to receive updates of the new operating system. Select the voice network. Now assign a name to the virtual machine. You can also create an icon on the desktop of your computer for easy opening of Windows XP (in this case). In the lower part of the window of Parallels Desktop, you will also the path to the host operating system. Usually, it ranks in the Documents. At this point, choose the source to install the operating system: CD or ISO. Click the radio button Start Windows XP Installation and wait for the completion of the installation process.

