How to organize your iPhoto library
The US computer company ” Apple ” has decided to facilitate the new version of the iPhoto digital photo management software, but limiting or hiding a number of really important features and especially useful for organizing its photo library.
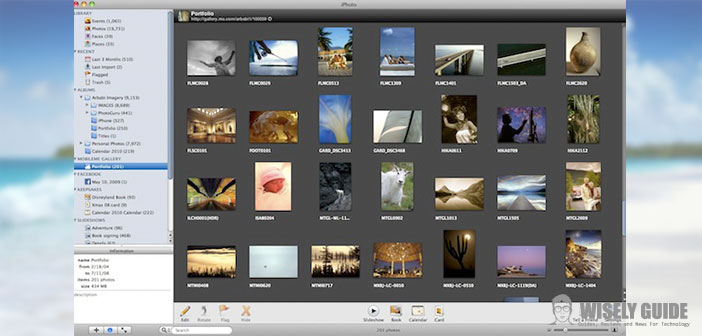
In the following simple and quick guide, I will go to the next steps, I will explain to you very briefly but in detail how to organize your own iPhoto library and refine your shots: there will be many tricks, which can escape the novice user.
- First, you’ll need to open the newly installed ” iPhoto ” software, browse your photo gallery to ” All-in-One ” (in iPad style), navigate in your personal photo library and find a picture that you like and want to set as your Mac wallpaper. You do not have to export it to the ” Desktop “, open ” System Preferences ” and put it as a background image, because you just click on ” Sharing / Set Desktop “.
- Now, try to share a photo or more photos by email: With the ” Share / E-mail ” entry, you can choose one of the ten themes allowed by this version of ” iPhoto “. After that, you will need to: enter the text in the relevant section; press on ” Send ” ; click on ” Projects to display them in the ” iBooks ” style for iPad and iPhone; double-click to enter ” Edit ” mode, where you can move and organize your library projects as you wish.
- Select a group of photos or events, click on the ” Presentation ” button (located below), choose one of the twelve themes and set the music that best suits your presentation: you can choose songs from ” iTunes ” or music tracks that ” Apple ” makes available. Remember, in some cases, it is very useful to reduce from five to three seconds for each photo to be visible on the screen to make it enjoyable and smooth to display all the images. To effectively organize a photo library, you can hold ” Alt ” while opening ” iPhoto “, especially if you need to manage multiple libraries.

